SURFACE FINISHES
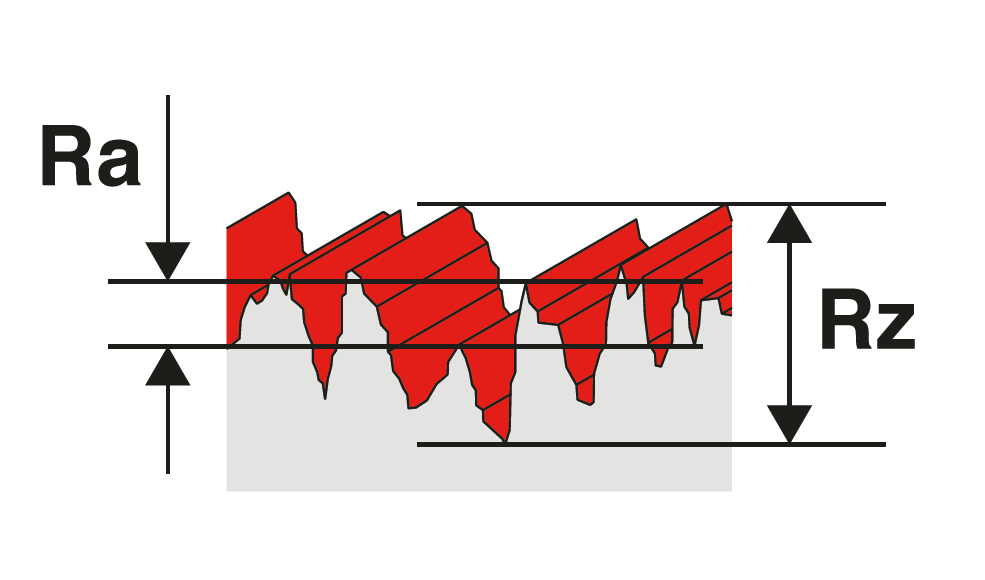
The most common parameter for surface texture is Average Roughness (Ra). Ra is calculated by an algorithm that measures the average length between the peaks and valleys and the deviation from the mean line on the entire surface within five sampling sections. Ra averages all peaks and valleys of the roughness profile and then neutralizes the few outlying points so that the extreme points have no significant impact on the final results. It’s a simple and effective method for monitoring surface texture and ensuring consistency in the measurement of multiple surfaces.
SAMPLING SECTIONS
|
Rs µm |
Section |
Total Length |
|---|---|---|
|
0.006 < Ra ≤ 0.02 |
0.08 | 0.4 |
| 0.02 < Ra ≤ 0.1 | 0.25 | 1.25 |
|
0.1< Ra ≤ 2 |
0.8 | 4 |
ASME BPE STANDARDS
Mechanically Polished
|
Surface |
Ra-Max |
Ra Max |
|---|---|---|
|
SF0 |
No Ra Req. |
No Ra Req. |
|
SF1* |
20 |
0.51 |
|
SF2 |
25 |
0.64 |
|
SF3 |
30 |
0.76 |
Mechanically Polished & Electropolished
|
Surface |
Ra-Max |
Ra Max |
|---|---|---|
|
SF4* |
15 |
0.38 |
|
SF5 |
20 |
0.51 |
|
SF6 |
25 |
0.54 |
*Most Common
Another parameter used for roughness is Mean Roughness depth (Rz). Rz is calculated by measuring the vertical distance from the highest peak to the lowest valley within five sampling lengths, then averaging these distances. Rz averages only the five highest peaks and the five deepest valleys—therefore extremes have a much greater influence on the final value.
The specification according to the ASME-BPE includes seven surface finishes that may be used when specifying surface finishes.
DIN 11865 STANDARDS
Mechanically Polished
|
Surface |
Ra-Max |
Ra Max |
|---|---|---|
|
H1 |
< 1.6 μm |
< 3.2 μm |
|
H2 |
< 0.8 μm |
< 3.2 μm |
|
H3 |
< 0.8 μm |
< 0.8 μm |
|
H4 |
< 0.4 μm |
< 0.4 μm |
|
H5 |
< 0.25 μm |
< 0.25 μm |
Mechanically Polished & Electropolished
|
Surface |
Ra-Max |
Ra Max |
|---|---|---|
|
H3 |
< 0.8 μm | < 0.8 μm |
|
H4 |
< 0.4 μm | < 0.4 μm |
|
H5 |
< 0.25 μm |
< 0.25 μm |

 Single-Use
 Containments
 Mixers
 Pumps & Flow Measurment
 Valves
 Seals
Seals
 Hoses
Hoses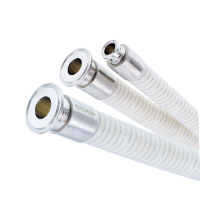
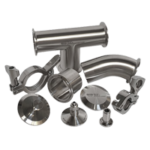 Fittings
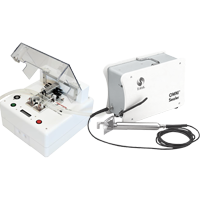
 Tube Sealers & Welders
 Transfer Ports
 Validation
 We utilize cookies to ensure you have the best possible experience while visiting our website.